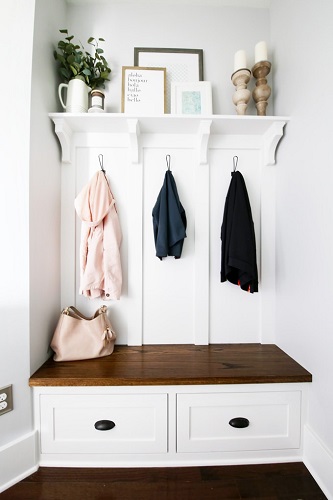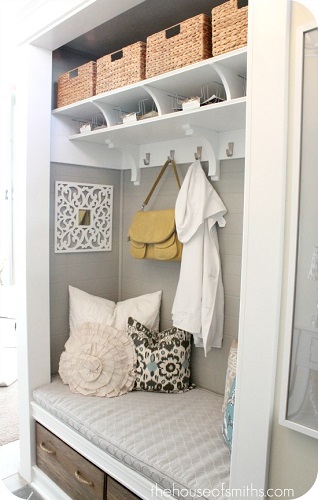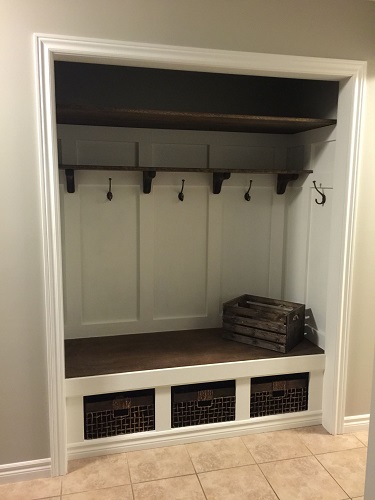
The “Closet to Nook” project is underway. I neglected to get a true “before” picture, but I did get some pictures of the early stages.
The first thing my father-in-law and I did was rip out all of the shelving and such that was in the closet.
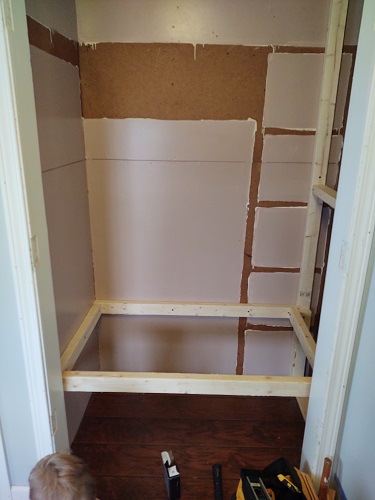
The above is a look directly into the closet. There was a shelf up top that had the bar to hang coats and such on hanging below it. That stuff came off the wall fairly easily. If you look in and to the right you can see where there were other shelves.
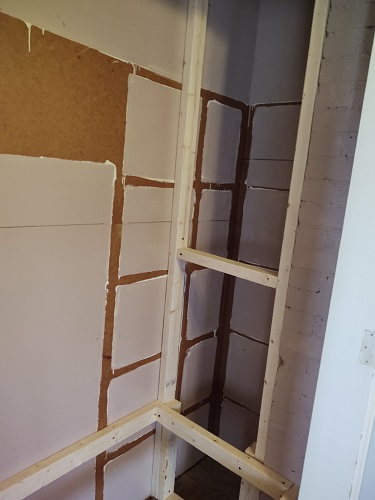
The shelves that were in there were hand made and thankfully didn’t take too much to get out. My father-in-law and I started framing things up as you can see above. Originally, my wife just wanted us to put a wall up and cover the hole back there. (More on that in a minute.)
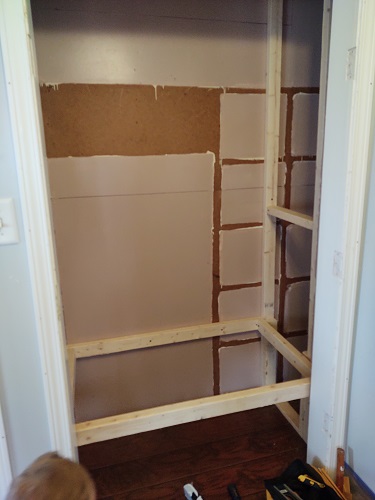
The frame above the floor is where the bench seat is going to go. We added a couple diagonal beams (like a V) to stabilize the bench (especially for when fat guys like me sit on it!). Now let’s talk about Project Problem #1.
Because this closet was not square really anywhere, we had to make it square. Lots of adjustments and such. We got it as close as we could and started framing and putting every thing together. We were checking to make sure everything was level and there were plenty of screws and nails.
Once the bench frame was ready, we laid the premeasured bench board on top. To our surprise, it was about 2 inches short. We both stood there and looked at it. My father-in-law says, “You know what we forgot to do? We forgot to subtract that extra inch and a half off for that beam in the back.” So I asked him what we needed to do now. He says, “Well, we’re gonna unscrew all of those boards and trim them up and put it all back together again.”
Now, it took about an hour and a half to cut, frame, measure, and screw everything into place. The last thing I wanted to do was undo all that we had done. So I asked, “What if we get a bigger board?” He says, “Well, we could do that. We’d have to cut it to size, though.” Well, I spent the extra money on a new piece of wood, because it was the easy (and granted, more expensive) way out. Once it was cut, it fit perfectly!
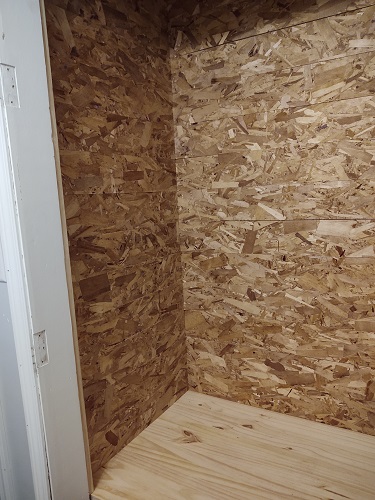
The second day of work, we took all the OSB wood and cut them in slats. We’re going to paint the walls, so it won’t look like it does in the picture. My father-in-law asked me again about “walling up” the side of the closet where the shelves were. I asked Sam and she said that she didn’t want shelves and that we were going to put a wall up.
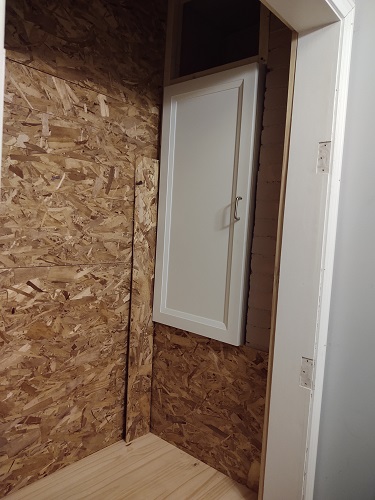
While my father-in-law and I were outside cutting the OSB into slats, Sam and her mom got to talking. (Sam’s mom was there watching the kids while we worked.) We came back in and we found out that they had been discussing the possibility of a cabinet in that wall. So her dad says, “We could do that if you want.” He explained that we had just about enough room to maybe fit one and place OSB above and below it. This, of course, meant another trip the the store.
My father-in-law is one of the brightest guys I know. In every project we have tackled, he has always been able to find a solution. So as we are walking in the store, he says we can do a cabinet or maybe a closet organizer might work. We looked at both and decided the cabinet would be the easiest way to get what we wanted. So we walked back to the cabinet area and spoke with someone.
We knew that we had 54 inches to play with for height. A 40 inch tall cabinet would work. We had 17 inches as our width. The cabinet we wanted was 18 inches wide. No worries, though, because my father-in-law told me we had an inch of wood that we could just trim out and make it fit. So we ask the gal to get us all we need. She runs all the numbers and says it would be about $160 for everything. Perfect. “Oh, wait a minute,” she says.
They didn’t have that cabinet in stock and would have to order it. My father-in-law looked at me and said, “Well, that won’t work.” So we asked what cabinet that size they did have in stock. She tapped a bunch of stuff back in the computer and found one. The door was different and it was about $40 more. “Ring it up!” I said. By this time I was so ready to be done with this!
I had no problem paying extra. It is for my wife and I want it to look good for her! So we brought the cabinet home and built something for it to slide in and sit on and mounted it. I was impressed with how easy this portion of the project went.
So all that we really have to do now is finish putting the OSB up along the side of the cabinet and up on the top of it. Then we have some trim we need to work on closer to the ceiling. We also are going to run a router over the edge of the bench seat edge. After that, we should ne ready to paint.
I can tell you that I would NEVER tackle anything like this by myself. My father-in-law has been such an amazing mentor to me when it comes to this stuff. His tape measure got caught on a board and got bent up while working on the project. When we went to the store to get the cabinet he grabbed a new one. When we got the the register, he picked it up and was going to pay for it himself. I grabbed it back from him and told him that I would get it! With all the things he has helped me with, I certainly wasn’t about to let him pay for a new tape measure!
More to come …