Brakes – Broke!

It wasn’t too long ago that my father-in-law, my brother-in-law, and I worked on the brakes on my car. Recently, I began to hear grinding on one of the back brakes. It was just the one and there was no indication that the pads were going before it began grinding.

If you are familiar with the brake pads, they have a little indicator thingy that when your pads are getting low, they begin to squeal a bit. My brakes never did that. The one side just started grinding – and bad.

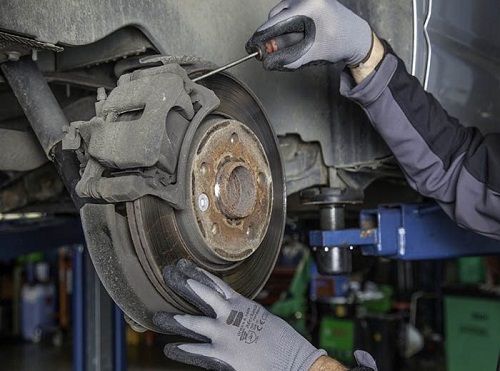
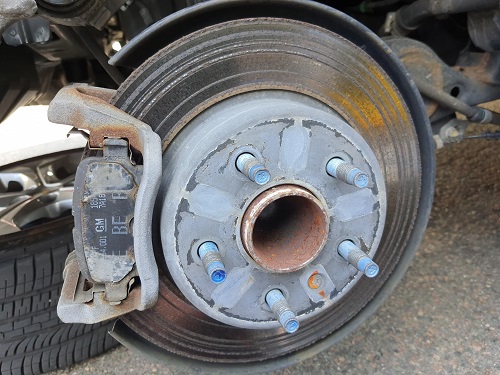
The day I noticed it, I pulled into work and could see that the pad was tearing a huge gouge right in the middle of the rotor. The other side was fine. I couldn’t really figure out what happened. My brother-in-law and father-in-law thought I might have gotten a set of bad pads and one cracked. By the time we got a day to work on them, that pad had tore up the entire rotor on that side.

Mine was worse than this!!

They had gotten so loud that any time I stopped at a drive thru for coffee, the workers looked at me and the back end of my car as I drove up to the window. As I drove away, the watched as well, probably hoping to see sparks flying from the back wheels or something!

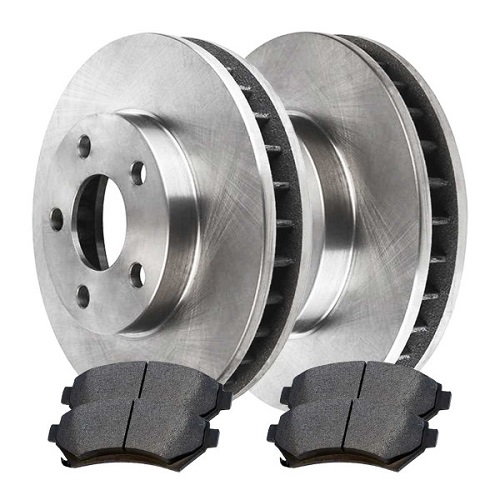
After calling around and getting estimates, I picked up the parts and we were blessed to have a nice day to work on them. My brother-in-law said it would be a “piece of cake” and the whole job should take less than an hour. We figured we’d jack up both ends at the same time and he could do one side while I did the other. Our time saving idea really didn’t work.

We forgot about one of the bolts that happened to be in a really tight place on the brake shoe. The nut sits in such a way that you can barely get a wrench in there to loosen or tighten it. The longest part of the job was getting to that particular nut. We had to painstakingly turn this nut little by little (maybe 1/8 turns at a time) until we could loosen them by hand. What a pain!

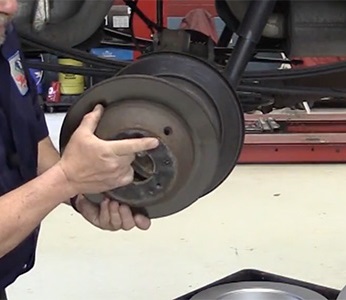
Once we got the old rotor off and the pads on back on the shoe, everything came together quickly. That is until we had to tighten that one bolt/nut again. I swear that was tedious! It took so much time.

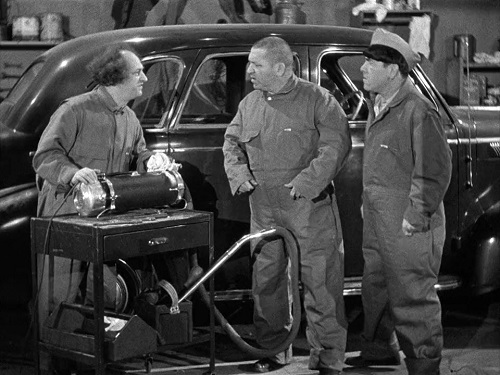
Finally we got everything set and we put the tires back on. My father-in-law has a socket for the lug nuts. He also has a breaker bar which you put over the socket to tighten or loosen the nuts. Basically, the end of the socket goes into the hollow tube of the breaker bar. His is square, but this gives you a sort of idea as to what I am talking about:

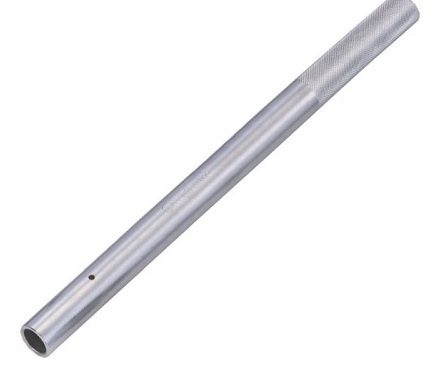
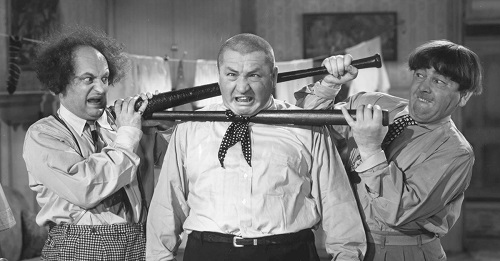
So the tire is now on the ground and I have this socket in the pipe. I am tugging on all the lug nuts to be sure they are secure. I must not have had the socket one one of the nuts, because as I tugged on it, the bar slipped off the socket and because I was bent over, the thing came up and conked me on the forehead! The only thing missing was the “pipe konk” sound effect used in a Three Stooges film! I saw stars for a few, but recovered quickly.

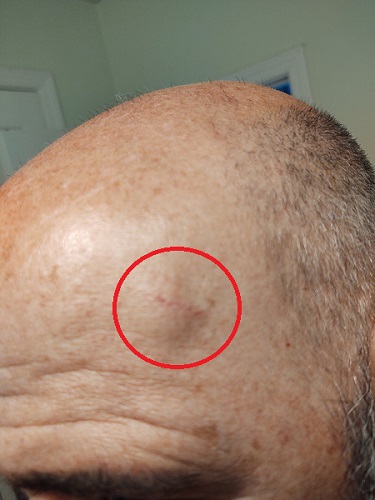
The goose egg had gone down a lot by the time I took a picture of it. You can still see it and it still hurts like a bugger!!

I’m happy to say that despite the comedy interlude, the brakes are working fine. Thanks to my father-in-law and brother-in-law for their help once again!

Gimme a Brake!

I am far from a mechanic. Looking back, I wish I had taken Auto Shop in school. I am truly clueless about cars. My buddy Jeff was always my “go to” when I had questions about cars. The first time my car needed brakes, he told me that I could save a bunch of money by doing them myself. He also said he’d help me do them. If I am being totally honest, I think I ended up watching him to 90% of the work. The same was true when we had to replace the master cylinders on my old Ford Van.

Sam and I put a lot of miles on our vehicles. She has a 45 minute drive to work and my drive is about an hour and ten minutes. We both do mostly freeway driving, which helps a little. I want to say that my car has 165,000 -170,000 miles on it and had never had the brakes done. It wasn’t until recently that I started to hear the squeal that lets you know you need new pads.

My father-in-law (who is probably the most handy handyman I know), said that he and my brother-in-law would help me with the brakes if I got all the parts. He told me that he had everything we would need as far as tools, and all we had to do was find a day. I began calling around early last week getting prices for pads and rotors. It was no cheap job! The parts ranged anywhere from $400-$700!!

Sam got a call from her dad saying he found the parts for about $275 at the AutoZone by him. I had called the one by me and they quoted me $450 for basic parts and almost $700 for the “gold” parts. I figured he knew somebody and called the one by him to order the parts. They gave me a price of $380. At this point, I just wanted to order the parts so we could get the work done, so I did.

My father-in-law went to pick up the parts and asked why the big difference in price. The manager stated that the price I paid was the correct price. My father-in-law pushed the issue a bit, and when he told him a female had given him the price, the gal next to the manager fessed up and said that she had mistakenly heard “Honda” instead of “Hyundai.” I still don’t understand how she messed it up, as I am sure Honda doesn’t make a Sante Fe!

I got to their house about 10:30 Saturday morning, and we got right to work. We had figured the whole job would take about 3-4 hours. We got the front brakes done pretty quickly and without any real issues. My brother-in-law made an off the cuff comment about how easy the fronts went on. I joked and told him not to jinx us because we still had the back brakes to do! I remembered from watching Jeff that the back brakes could be tricky.

We took a break after the front was done and went in and had lunch. My mother-in-law had whipped up some hot dogs and mac and cheese for us. Afterward, we went out to tackle the back.

Once we got the wheel off the rotor, we began to tap it with a hammer to try to pull the rotor off the hub. As per usual, there was some rust back there, and this rotor, no matter how hard we pounded on it, just would not come off! I think each one of us took whacks at it with a regular hammer and a sledge hammer. This thing would NOT come off.

Little by little, after more whacks with the hammer, we got some wiggle from the rotor. We could ALMOST get it off the hub. It was then that we noticed that the rotor seemed to be attached to something. My father-in-law had mentioned something about the possibility of the emergency brake needing to be adjusted before we took off the rotor. What we ended up doing was causing the emergency brake to seize up inside the rotor, which meant it wasn’t coming off.

We spent about 2 hours on this one rotor! Sam reminded us of a friend who does some work on cars who lived nearby her folks. Once we got him on the phone, he was there in about 5-10 minutes. He walked up with some fancy prybar. He tapped the rotor a few times and worked some magic with the prybar and the rotor was off in like 5 minutes! The way we pounded on that thing and pulled on that thing, I thought it would never come off!

Once the rotor was off, it only took a few minutes and the entire job was completed. I’d be lying to you if I said I wasn’t worried about causing some sort of damage to the car myself. I guess that is why I don’t do a whole lot of work on cars (or other things for that matter). If I screw something up and it winds up costing me a ton of money, it is totally my fault. If someone else does it, well, then they can eat the cost of it!

I was grateful to my father-in-law, my brother-in-law, and their mechanic friend, Jay, for helping us get the entire project done. I hope it’s at least another 165,000 miles till we have to get under that thing again!!